How to Make Scrabble Tile Photo Necklaces
I found a Scrabble tile necklace at a craft show that I HAD to know how to make them for myself. They used a photo on their pendant and I thought that the photo pendants would make cute, personalized gifts for my family and friends.
I set out to find out how they were made.

Photo Credit: BeInspiredDesigns
I found a tutorial online that explained the process of making scrabble tile necklaces here. The only problem was I couldn’t find one of the products that they used so I needed to do a little more digging.

So, How Do They Get Those Small Photos?
I did come up with a few new ideas while browsing through pages and pages. One idea I really liked was you can use any basic card stock, paper or photo as long as it fits a premade template window. If you want to use photos like I did, you need to play around with reducing the size of them on your computer. That is where the template comes in handy. Once you know the correct size, you can make anything fit.
How to Fit the Photo Correctly
You make a template out of an index card by tracing a scrabble tile and using an Exacto knife, cut out just the center so it becomes an index card with a square the size of your Scrabble tile cut out of the middle of it.
When you want to know if your image would fit or look well on a pendant you simply hold up the cut out template. If the image fits the cut out and looks good, you cut your image by tracing the template. Simple enough!
Materials:
Scrabble Tiles
Silver Plated Bails, small
Ball Chain (Cut to Length with Scissors)
Diamond Glaze or Triple Thick Brush-On
Tacky Glue
Mod Podge
E6000 Glue
Decorative papers or photos
Directions:
1.) Apply Tacky Glue using a brush it to the underside of your pattern or photo. Spread the Tacky Glue
evenly and adhere it decorative side facing up to the tile. Be sure that your pattern lays flat and no bubbles are forming between the tile and the pattern. If they are, flatting your image to the wood to remove air bubbles. Let dry 15 minutes.
2.) Once dry, trim excess paper from around the wood using a razor blade or scissors. File the outside gently to even out the sides and remove excess paper.
3.) Brush on a thin layer of Mod Podge over the top decorative paper or photo. This will seal the image before adding Diamond Glaze. Wait 15 minutes for tile to dry.
4.) Hold your Diamond Glaze bottle at an angle start by making a box around the outside edge of the pendant. Then fill in the middle section of your decorative paper or photo. If you get any bubbles you can poke them with a toothpick or needle.
It never fails. The first pendant always gets a bubble right away. Please don’t get upset. There is leftover air in the neck of the bottle. Try squeezing some out on a piece of paper before starting.
Let dry in a dust-free place for 4-6 hours before touching. (As a note never shake the bottle it will introduce unwanted bubbles.)
Diamond glaze dries clear, with a glass-like finish. It can be thinned with water for less shine and also color-tinted using ink.
5.) Use E6000 Glue glue to apply the bail to the back of the pendant and let dry.

6.) File the pendant sides down to be sure they are smooth. This will remove any glue that could have run down the sides.
7.) Place your ball chain through the bail. Viola! Easy how to make Scrabble Tile photo necklaces. I can create any pendant I wish AND so can you!!!
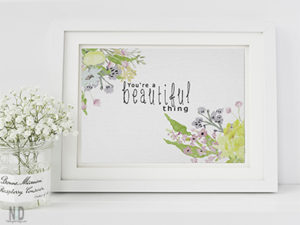
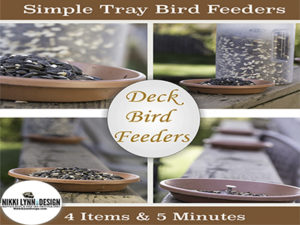
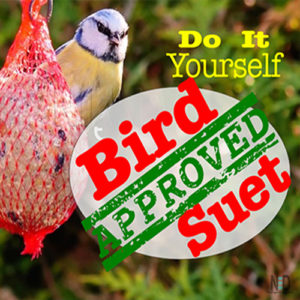
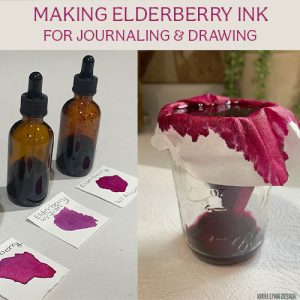
Additional Posts That May Interest You:
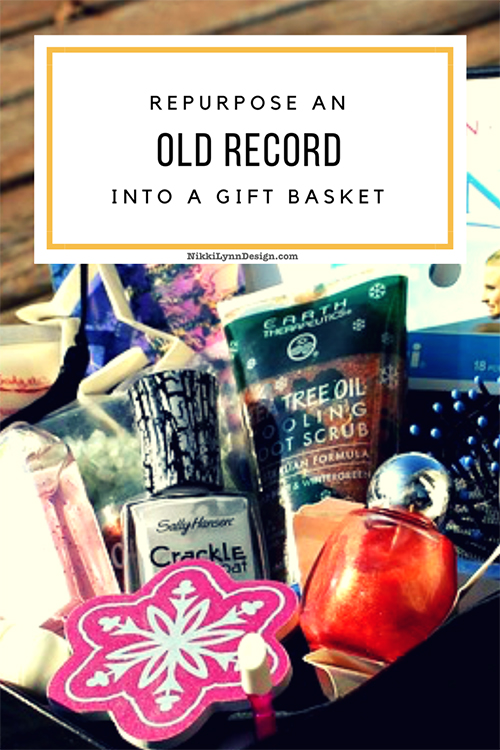
Turn An Old Record Into a Gift Basket
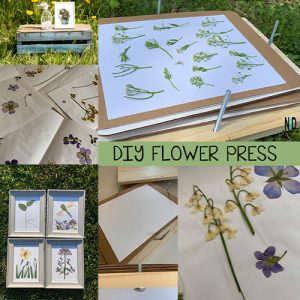
Recycled Plate Garden Flowers
Silverware Garden Stakes
Cutting Soda Cans for Jewelry
Posts may contain affiliate links.


Leave a Reply
You must be logged in to post a comment.