Terra Cotta Clay Pot Garden Person
How to Build a Terra Cotta Clay Pot Garden Person. This is a creative way to spruce up your garden and use chipped or repurposed terra cotta pots. There is no “wrong” way to build a terra cotta clay pot garden person.
Gather up an assortment of pots. Large pots will create an adult version, smaller pots a child version.

Want to share my images on your blog? Read here.
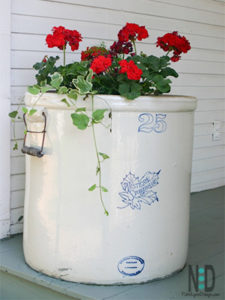
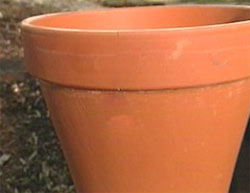
It is not necessary to use brand new pots for this garden craft. Using faded and chipped pots give your people individual character and are optimum materials for this project.
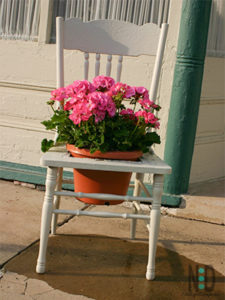
For this project you will need a bench or something for each of your people to sit on. Old weathered wood is a wonderful choice.
Materials Needed
1.) For both the child and adult version you will need nylon rope. (baling twine works well too) The amount depends on your creativity. Plan to overestimate your rope, so you don’t run out.
2.) Sticks
3.) Terra cotta pots in various sizes. Keep in mind the number of pots below depend on how high your bench or stool is.

Want to share my images on your blog? Read here.
4.) A bench or stool for your person to sit on
5.) Tube of contractor’s strength adhesive.
6.) Plants or trailing ivy
7.) Felt pen
Pots Needed For Child:
Legs
10 whole 4” pots
1 whole 4” pot split down middle to two creating two halves.
Arms
8 whole 3” -4” pots
1 whole 3”-4” pot split down middle to two creating two halves.
Torso
(2) 8” pots
Head
(1) 6”-8” pot
Pots Needed For Adult:
Legs
8 whole 6” pots
1 whole 6” pot split down middle to two creating two halves.

Want to share my images on your blog? Read here.
Arms
12 whole 3” -4” pots
1 whole 3”-4” pot split down middle to two creating two halves.
Torso
(2) 10” pots
Head
(1) 6”-8” pot
Directions:
1.) Place one torso piece on the bench; place a small amount of contractor’s strength adhesive around the top rim. Attach the second torso piece upside down. This creates the entire torso. Let dry.
2.) Lay the two half pieces of a pot for the joint on the bench. Do not glue them. It is to give you an idea how to build your legs.

Want to share my images on your blog? Read here.
3.) Tie a short stick in a knot using the nylon rope. Do not cut your rope; leave it long because you do not know how long of a piece you will need. Pick up a pot for one of your legs. Feed the rope / stick combo through the inside of the pot and out the top hole. Continue to feed the rope into the second pot without knotting a second stick just yet.

Want to share my images on your blog? Read here.
Use a felt pen to mark the position that the rope is when it is outside the hole. Remove the second pot. Knot a stick to the felt pen marking and slide the second pot back on. Continue until you have used all the pots for your leg but the half pieces. When you reach the top of the bench, cut off your rope and knot it. Be sure to leave a foot or two for attaching it to the torso.
4.) Complete the process for the second leg as well. You can position the strung legs when finished.

Want to share my images on your blog? Read here.
5.) After you have positioned the legs where you would like them, it is time to tie the torso and legs together. Remember that extra footage of rope I told be sure to have for each leg? Pull it tight to the back side of the torso and staple gun to keep it in Glue your half pieces of pots to cover the leg and string. It ties the entire leg together. Depending on the height of your stool or bench it may not be needed.
6.) Construct your arms in the same manner. Glue your ropes to the top torso, where the head and torso will meet. They will get attached with glue between the head and torso.
7.) Glue the head onto your person.
8.) Glue the half shoulder pieces if you desire. Sometimes I do and sometimes I don’t. Again, it depends on the alignment and look I’m going for.
9.) Plant flowers or vines in the head of your person.
Additional Posts That May Interest You:
Hand Feeding Chickadees & Nuthatches
Dried Fruit Medley For The Birds
Posts may contain affiliate links.