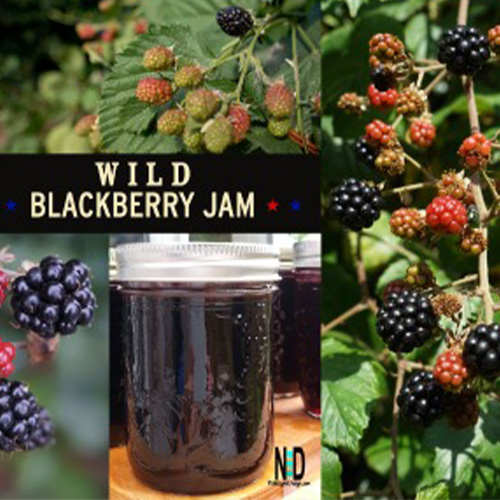
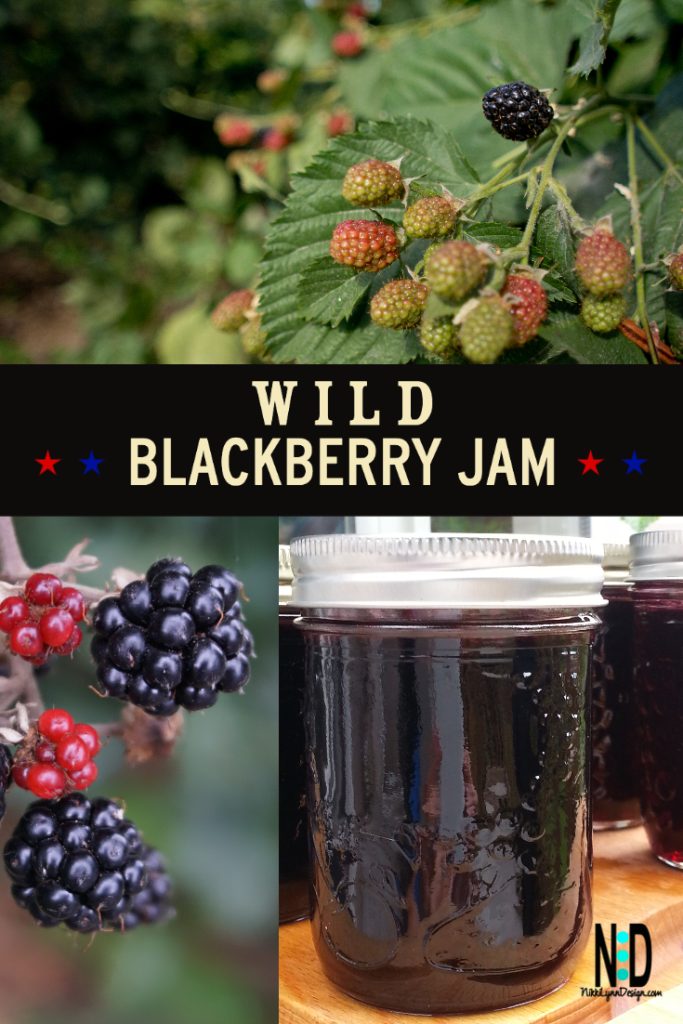
Summer is for berry picking and wild blackberry jam is delicious. We spend a great deal of time out on our UTV enjoying the woodland areas and foraging for wild berries.
When Do They Ripen?
One of our favorite berries to hunt down is blackberries. Our search for berries begins the last two weeks of July and into August in Wisconsin.
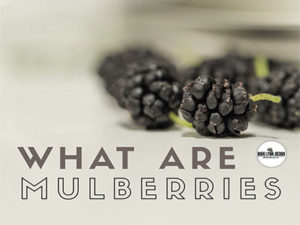
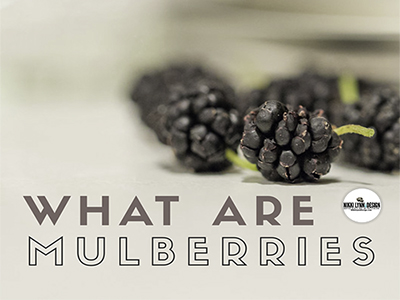
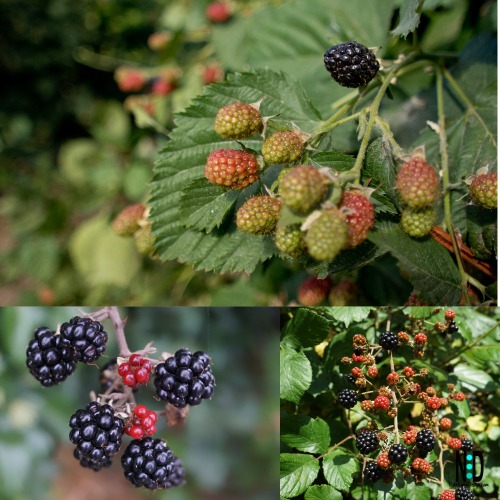
Blackberries start green, turn red, and then have a deep purplish black coloring when ripe.
An overly ripe blackberry bush will drop its berries as you pick them.
Making Jam
Making wild blackberry jam is a simple process and if you do not want to try your hand at water bath canning, you can simply make the jam and freeze it as well. The most difficult part of creating this jam is picking the berries.
Equipment
- Potato Masher
- Deep Pot
- Fine Mesh Strainer
- 1/2 Pint Mason Jars
- Funnel
Ingredients
- 9 Cups fresh or frozen blackberries mashed (9 pints)
- 6 cups sugar
- 1 box of pectin
Measuring Berries: When picking or purchasing berries, keep in mind that a dry pint of whole blackberries works out to be about 1 cup of mashed fruit.
Instructions:
- Prepare the Blackberries:
- If using fresh blackberries, wash them thoroughly and remove any stems.
- If using frozen blackberries, thaw them in advance and drain any excess liquid.
- Mash the Blackberries:
- Mash the blackberries using a potato masher. You can leave some chunks for texture if you prefer.
- Combine Blackberries and Sugar:
- In a large, heavy-bottomed pot, combine the mashed blackberries and granulated sugar. Stir well to ensure the sugar is evenly distributed.
- Bring to a Boil:
- Place the pot on the stove over medium heat. Bring the mixture to a boil, stirring frequently to prevent sticking or burning.
- Skim Foam:
- As the mixture boils, foam may rise to the surface. Skim off any foam using a spoon and discard.
- Cook Until Thickened:
- Once the mixture reaches a rolling boil, reduce the heat to maintain a gentle boil. Continue cooking, stirring regularly, until the jam thickens. This can take anywhere from 15 to 30 minutes. You do not need to add pectin. I like it to be sure it sets.
- Check for Doneness:
- To test for doneness, place a small amount of the hot jam on a cold plate and let it sit for a moment. Run your finger through the jam, and if it wrinkles and holds its shape, it’s ready.
- Remove from Heat:
- Once the jam reaches the desired consistency, remove the pot from the heat.
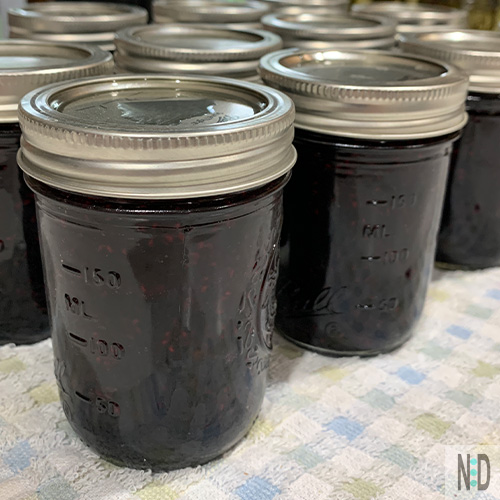
- Jar the Jam:
- Ladle the hot jam into sterilized jars, leaving about 1/4 inch headspace. Wipe the rims of the jars with a clean, damp cloth to ensure a proper seal.
- Seal the Jars:
- Place sterilized lids on the jars and screw on the bands until they are fingertip-tight.
- Process the Jars (Optional):
- If you want to store the jam for an extended period, you can process the jars in a boiling water bath for about 10 minutes to ensure a proper seal. Follow proper canning procedures.
- You can also make freezer jam by placing the jam into freezer containers and freezing the mixture. Freezer jam will keep for up to 6 months
- Cool and Store:
- Allow the jars to cool completely before checking the seals. Store the sealed jars in a cool, dark place.
Enjoy your homemade blackberry jam on toast, pancakes, or as a topping for desserts!
Helpful Notes
What is pectin? – Pectin is what makes your jam set. A lot of pectin makes jam solid, and not much pectin makes jam soft and runny. Under-ripe fruits have lots of pectin in them. Ripe and over-ripe fruits have less (because pectin decays over time). So using ripe fruits in your jam will make it very soft, and using -under-ripe fruits will make your jam set solid. It’s best to assume most fruit is low in pectin and will need added pectin and give the jam a little help in setting.
There are two forms of pectin liquid and powder.
Sugar – Sugar helps your jam set – and, of course, makes it sweeter. It’s up to you how much sugar you decide to put in, but it’s better to add the sugar to your cooked fruit when most of the liquid has boiled away. Otherwise, as the liquid evaporates your jam will get unexpectedly sweeter and sweeter. It’s much easier to judge the taste if you put the sugar in near the end of boiling up the fruit for the jam.