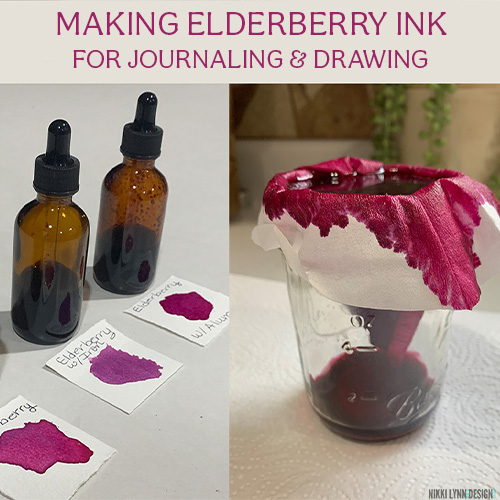
Making elderberry ink can be a do-it-yourself project. The process involves collecting ripe elderberries, extracting their juice, and then combining it with a binder and other ingredients. The ink is then strained and bottled for use.
Elderberry ink is traditionally made by crushing and extracting the juice from elderberries. The juice is then combined with additional ingredients to create an ink. The exact recipe may vary, but common additional ingredients include water, gum Arabic (a natural binder), and sometimes a small amount of vinegar.
For this project, I was experimenting with iron and alum.
Historical Use: Historically, elderberry ink has been used for writing and drawing. It was particularly popular in medieval manuscripts and was often used by scribes for creating texts and illustrations.
Artistic Applications: Some artists and calligraphers today may choose to make elderberry ink for artistic purposes. The unique color and historical associations make it an interesting choice for those interested in traditional or natural art materials.
I plan on using the ink for artistic and self-expression in my journal and for drawing.
Collecting Elderberries
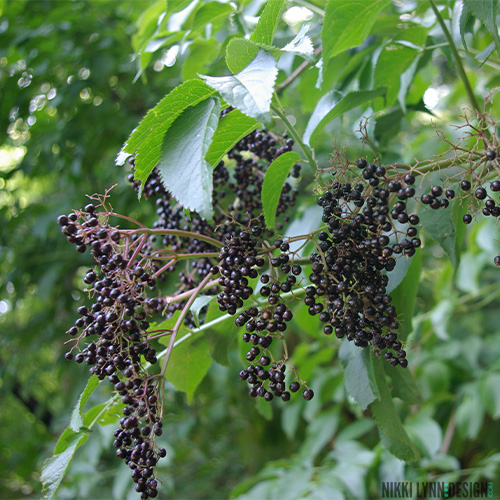
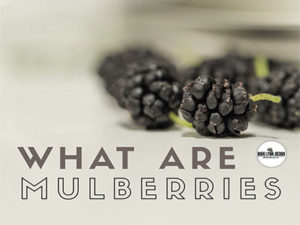
Elderberry ink typically refers to ink made from elderberries, which are the dark purple to black berries of the elder tree (Sambucus nigra)
You could have elderberry growing on your property. If so, be sure you pick and freeze them to use for a variety of projects like this ink and elderberry syrup later in the season.
Traditional Elderberry Ink
This is the traditional way of creating elderberry ink. Skip down to switching out water for vinegar to see how I modified the recipe.
Ingredients:
- Ripe elderberries (Sambucus nigra)
- Water
- Liquid Gum Arabic (I bought this Amazon link)
- White Vinegar (optional)
Equipment:
- Pot for boiling
- Strainer, coffee filter, or cheesecloth
- Jar or bottle for storage (I bought these Amazon link)
- Spoon for stirring
Instructions:
- Harvest Ripe Elderberries:
- Collect ripe elderberries. Ensure they are fully ripe, as unripe berries may contain certain toxic compounds.
- Extract Juice:
- Remove the berries from the stems.
- Crush the berries to extract their juice. You can use a potato masher or similar tool.
- Boil the Juice:
- Place the crushed elderberries in a pot.
- Add a small amount of water to cover the berries.
- Bring the mixture to a gentle boil, then reduce the heat and simmer for about 15-20 minutes.
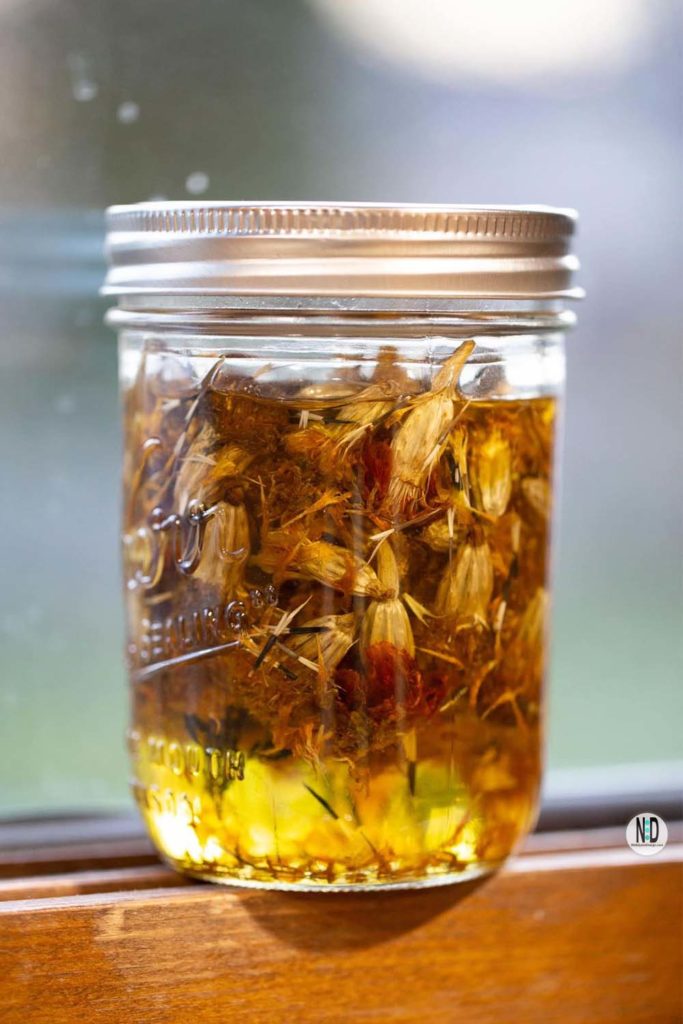
- Strain the Juice:
- Allow the elderberry mixture to cool slightly.
- Strain the liquid through a fine mesh strainer or cheesecloth into a container. This will separate the liquid from the solid berry remnants.
- Add Gum Arabic:
- Measure the elderberry juice, and for every cup of juice, add about 1-2 teaspoons of gum arabic. This acts as a natural binder to improve the ink’s consistency.
- Optional: Add Vinegar:
- If you want to enhance the ink’s preservation, you can add a small amount of vinegar. This helps prevent mold growth. Start with a teaspoon and adjust to your preference.
- Stir Well:
- Stir the mixture thoroughly to ensure the gum Arabic is well incorporated.
- Store:
- Transfer the elderberry ink into a jar or bottle for storage. Ensure it has a tight-sealing lid.
- Use:
- Your elderberry ink is ready to use! You can use it for writing, drawing, or any artistic purposes.
Note:
- Elderberry ink may darken over time, which is a natural process.
- Be cautious when handling elderberries, as raw berries may contain compounds that can be toxic in large quantities. Stick to ripe berries, process them correctly, and avoid ingestion of the ink.
Switching Out Water For Vinegar

For this process, I wanted to experiment to see what variations of color could be achieved. Plus, if I liked a certain color, be able to recreate it at a later date. This requires that you take notes and measure everything.
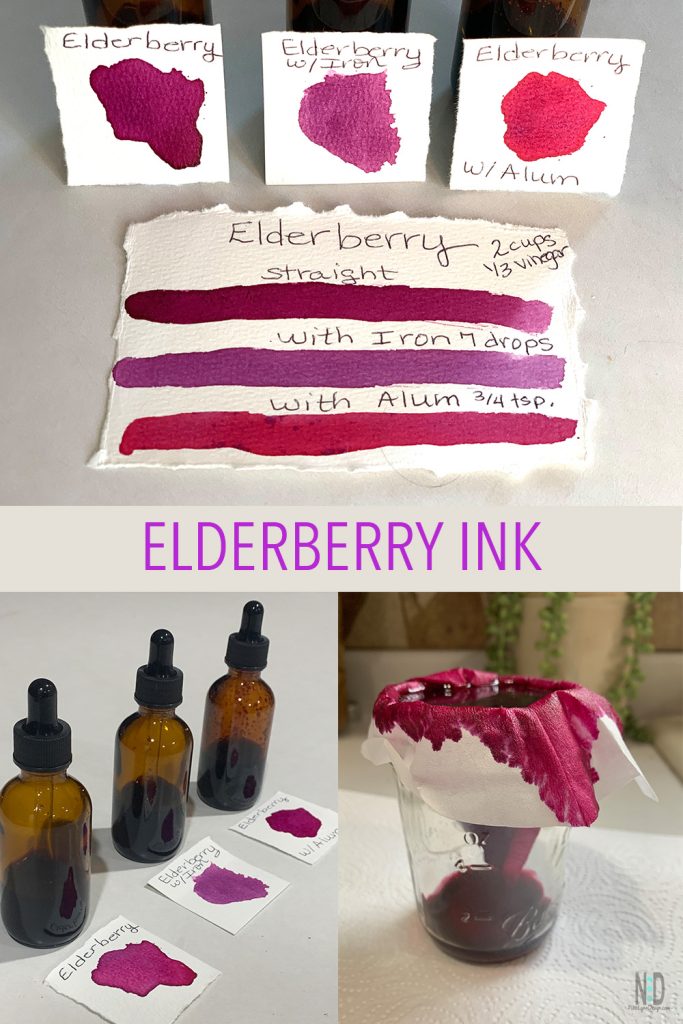
I measured out 2 cups of elderberry and 1/3 cup of vinegar. They were heated in a medium saucepan over medium heat, then reduced the heat and simmered for about 15-20 minutes.
- Measure:
- Measure out 2 cups of elderberry and 1/3 cup of vinegar into a medium saucepan.
- Boil the Juice:
- Crushed elderberries with a potato masher.
- Bring the mixture to a gentle boil, then reduce the heat and simmer for about 15-20 minutes.
- Strain the Juice:
- Allow the elderberry mixture to cool slightly.
- Strain the liquid through a fine mesh strainer or cheesecloth into a container. This will separate the liquid from the solid berry remnants.
- Store in Refrigerator:
- The ink will stay fresher if stored in the refrigerator.
Video
The Fun Begins
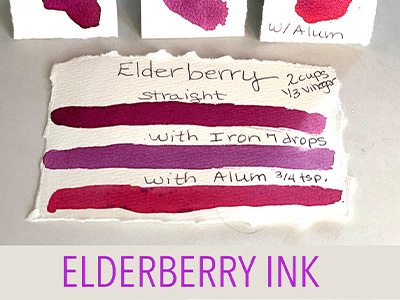
Bottle 1: I liked the color without anything added.
Bottle 2: 7 drops of homemade iron water added and shake to incorporate.
Bottle 3: 3/4 teaspoon of powder alum to the third bottle and shake to incorporate.
I took a brush and tested the colors as I went. Increasing the amount of alum or iron water until I achieved a color I loved.
Add Gum Arabic:
Measure the elderberry juice, and for every cup of juice, add about 1-2 teaspoons of gum arabic. Gum Arabic is added to ink primarily to act as a binder, helping to hold the pigment particles together and adhere them to the writing surface. It also improves flow and viscosity.
Homemade Iron Water
Making your homemade iron water is a simple process.
Enjoy your creative process of making and using elderberry ink!
Additional Posts