Starting A Compost Pile
Today I am going to walk you through starting a compost pile or aka cold composting which is composting kitchen scraps and yard waste this year into rich, beautiful soil for next year.
Purchase Bins or Containers
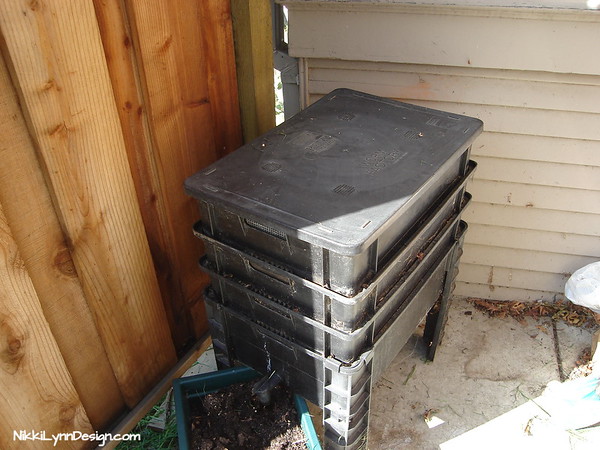
If you want to start small, simply purchase a plastic compost bin.
There are also larger tumbler-style compost containers that you can purchase.
Make Your Own Compost Bin
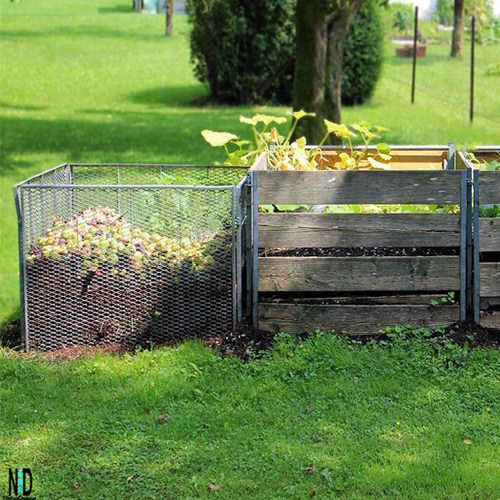
- Make your own using fencing using metal or untreated wood fence posts for the corners and sturdy wire fencing or boards around them.
- Be sure to have at least three feet wide by three feet deep to allow for enough space for materials. If you want a larger pile, go for wider over deeper.
- Be sure when wrapping wire around your posts you do not leave any gaps. You want the compost to stay contained to your fenced area and be tight corners to heat up and rot properly.
- Add a tarp to cover for material to stay hot and dry when not adding to it.
- When the compost is ready, unwind the wire and scoop from the bottom of the pile. Then re-pile the undecomposed material and wrap the wire back around the heap.
- Or, if you live in the country – do like my grandmother just “Throw it on the pile.” No need for fencing.
Serious Gardeners Use Three Piles
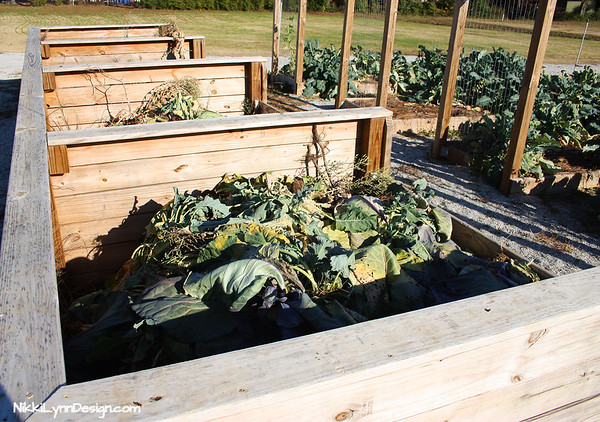
Many hard-core gardeners feel that three compost piles are the best for composting. By building a trio of piles you can compost in stages.
- The first pile will be ready for use.
- Second pile will be brewing.
- Third pile will always be starting
Starting A Compost Pile In Your Yard
It’s easy to cook up your own pile. At first, layer grass clippings with a sampling of leaves and twigs to create a concoction that turns into humus, the best plant food.
Adding Kitchen Scraps
Added ingredients for the compost comes from everyday waste in the kitchen and yard.
Use a bin to collect kitchen scraps to bring them out to dump on your cold compost pile.
The airtight lid and replaceable activated-charcoal filter work together to trap and control odors naturally, so your kitchen compost bin can sit conveniently on your countertop or wherever you need it. The chic modern design also complements any decor.
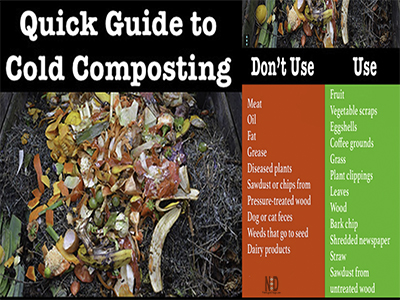
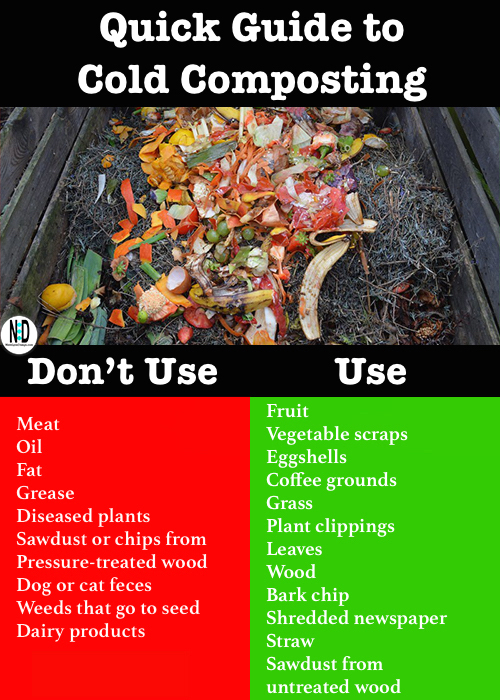
But, avoid any items that ruin your compost. See the quick list below and save a copy for later.
Don’t Use
Use
- Meat
- Oil
- Fat
- Grease
- Diseased plants
- Sawdust or chips from pressure-treated wood
- Dog or cat feces
- Weeds that go to seed
- Dairy products
- Fruit
- Vegetable scraps
- Eggshells
- Coffee grounds
- Grass
- Plant clippings
- Leaves
- Wood
- Bark chip
- Shredded newspaper
- Straw
- Sawdust from untreated wood
Sharing Is Caring – Pin Me
Does It Smell?
Heaps of rotten garbage emitting a horrid odor, is that what you are picturing? If you maintain it correctly you’ll be able to produce great compost without producing an offensive odor.
- Remember to use the list above as your guide. Stay away from adding the don’t add’s above. This is key.
- Chose a location in your yard that has space and is also out of sight.
Adding Worms Speed Up The Process
Adding worms or worm castings speeds up the process as well. Great for gardeners like myself. Here was the process using the deck bin before I set up one in my yard.
Start Small & In No Time It Will Be Second Nature
To just try out the cold composting process and get your feet wet, start small. If you find it useful, you just may end up working up to that three pile method of bliss and being able to add rich humus to your garden soil using this method.
Check Amazon For Supplies
Additional Posts
AFFILIATE POLICY: Posts on this site may contain links to outside vendors that pay me a commission when you purchase from them, at no additional cost to you. Thank you for supporting this site!
