One of the staple crops in both home and community gardens is potatoes. Growing garden potatoes is not difficult if you have the knowledge upfront to make you successful.
Growing Garden Potatoes
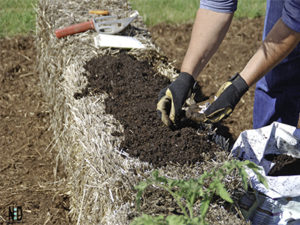
Soil Preparation
One of the most overlooked things when growing garden potatoes are soil preparation. After the first frost goes out, squeeze a handful of it. If the soil crumbles it is ready for spading. If it packs into a mudball, it is too wet and you should wait to work it.
Additional Reads: No Garden. But, I Want One. / Choosing A Location For Your Garden
Work & Amend Soil
Potatoes grow best in sandy or gravel loam. Heavy, sticky clay or extremely loose sand is not desirable. If you have thick clay or loose sand read elements to good soil this will help you amend your soil.
Spade or rototill soil 8 to 12 inches deep. Turn all vegetation such as grass or weeds under to rot and enrich the soil. Be sure to break up any large clumps of soil and pulverize the soil. Use a hoe and spade to aid you with your top layer of soil.
March is when our early variety of potatoes can be planted.
Additional Read: Picking The Right Gardening Tools
Selecting Seed
Gardeners do not grow potatoes from seed, rather a cutting off of the tuber. It is a cutting that resembles a graft or bud of a tree and perpetuates the good or bad qualities of the parent.
The true seed of a potato plant is born in pods after the flower blossoms. The seed is not very often seen and is difficult to collect. If you would plant the seed it would take four years to cultivate potatoes of edible size.
Purchase seed potatoes from a local source, most greenhouses, and local co-op suppliers carry them.
Just ask if they carry seed potatoes.
Cutting Your Potatoes
Seed potatoes should be laid out for two weeks in a room where they will be exposed to strong sunlight, before cutting. This will start sprouts and detect poor or damaged seeds.
Seed potatoes larger than 2 inches in diameter should be cut after two week period and each piece should be around 1-2 ounces and contain two eyes (indentations on potatoes are called eyes). Let your pieces dry a couple of days after cutting to form a crust so bacteria can not get into the pieces when in contact with soil. Pieces should be treated for scab after they are dry and ready to be planted.
Treating Seed For Scab
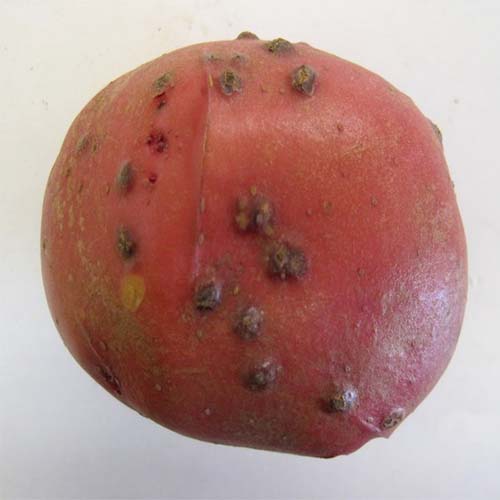
This potato blemish causes unwanted ugly, scabby lesions that spoil the appearance of the tuber and make them undesirable to consumers.
Although there is no method known to completely control this disease, there are some management options that can help reduce the severity of common scab on potato.
It is carried through the winter, in soil, in manure, and on the potatoes themselves.
Rotate Your Crop
To control this affection it is important to rotate your potato planting crop. Potatoes should not be planted in the same place in the garden for 3-4 years. Chose a rotating interval to plant your growing garden produce to keep the soil and plants healthy.
Ideal Conditions For Scab Infection
Ideal conditions for common scab infection are low soil moisture (less than 65-70% soil moisture) during tuber initiation (before tuber is 1 to 1.5 inches in size), soil pH between 5.2 and 8.0, and daytime temperatures above 70 F.
Planting scab-resistant potatoes can be one of the best options. Breeding programs have focused on developing cultivars that are resistant to common scab and continue to evaluate clones for their resistance to common scab.
Planting Potatoes

Laying Rows
Straight rows add beauty and make cultivation easier. To make straight rows place a stake on each side of the garden marking a row, stretch a stout string between the stakes.
Follow the string with a point of a hoe or handle of a rake, shovel, etc to open up the soil, creating your row.
Planting Your Rows
- Prepare trenches or furrows from 1 to 5 inches deep and 24-36 inches apart.
- Place seed pieces 3 inches deep for early potato varieties and 5 inches deep for late varieties. Seed pieces should be 14-18 inches apart in rows, the smaller the pieces the closer the planting.
- Fill trenches with direct, firmly pat soil in order that moisture may be brought in contact with the seed pieces to assist in germination.
Note: Usually potatoes shouldn’t be planted after the first week of July because they may not mature before freezing weather.
Cultivation
While the plants are growing be sure that you are hoeing the soil to the sides of your seeds, seedlings, and plants. A nice, shallow disturbance of the soil is useful so that a soil crust doesn’t form. The crust will make it difficult for your plants to grow strong and steady.
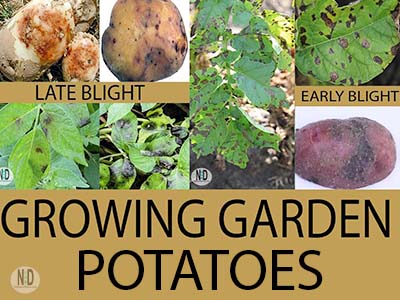
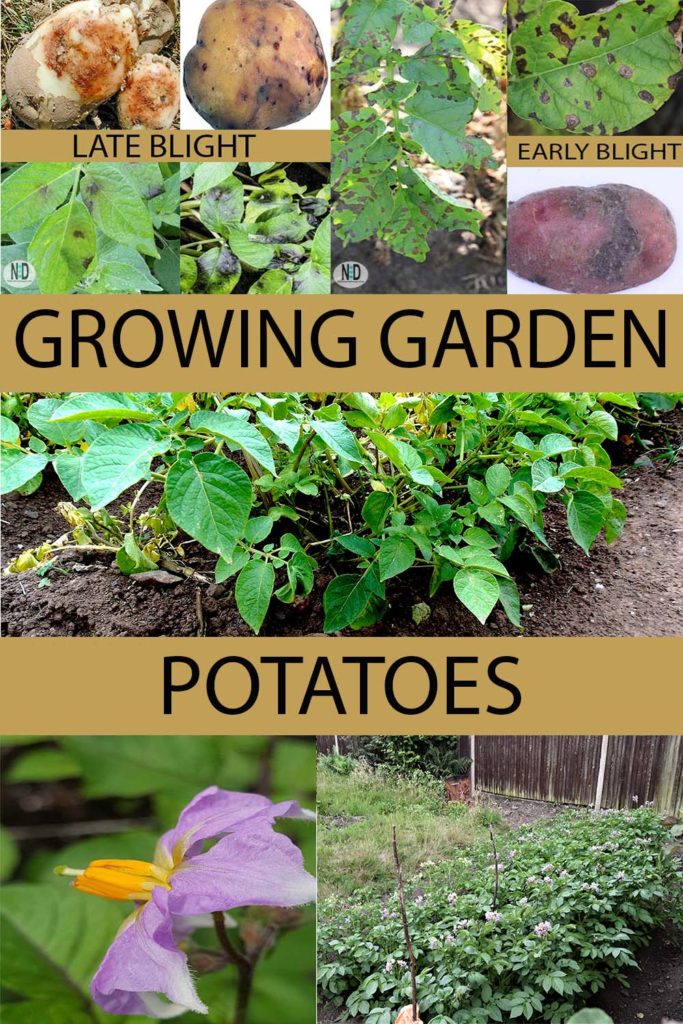
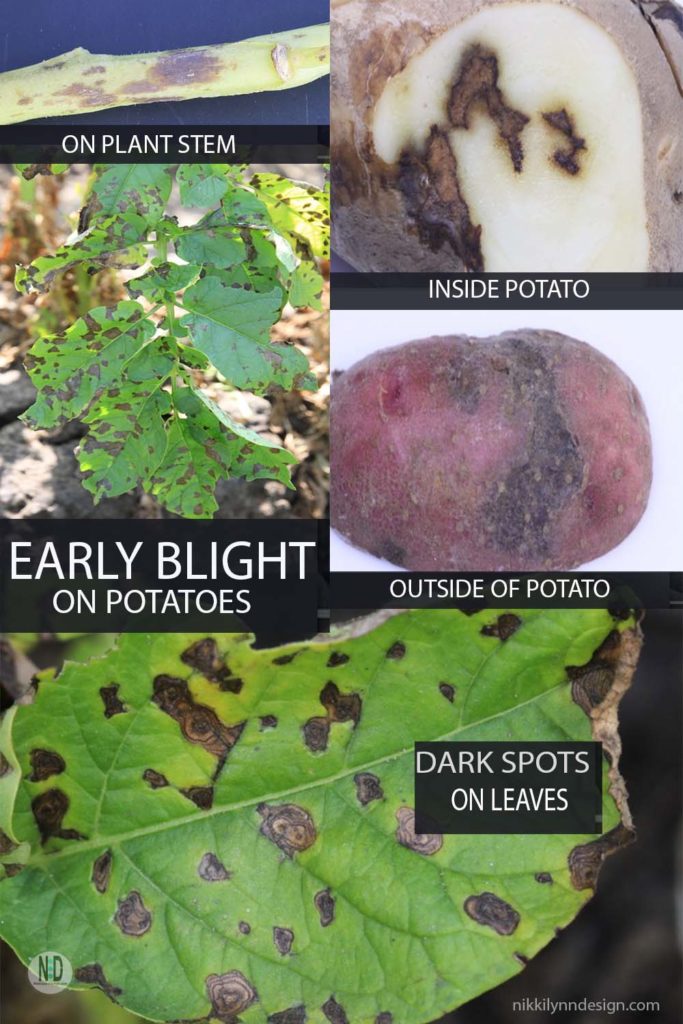
Early & Late Blight
Blight or rot are two common diseases of potato plants caused by parasitic plants or fungus which is carried throughout the winter on tubers grown for an infested crop of the previous year.
Early Blight
Brown spots with concentric rings on leaves. Worst in moist weather.
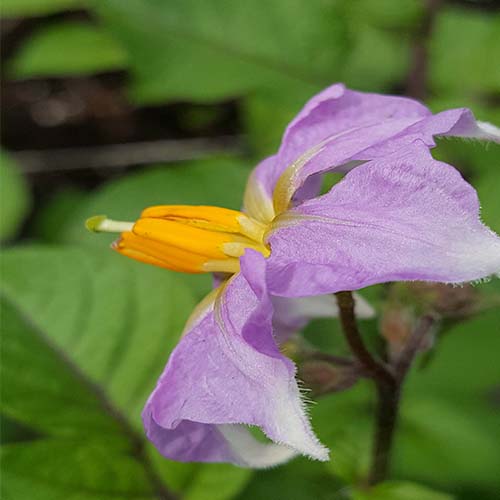
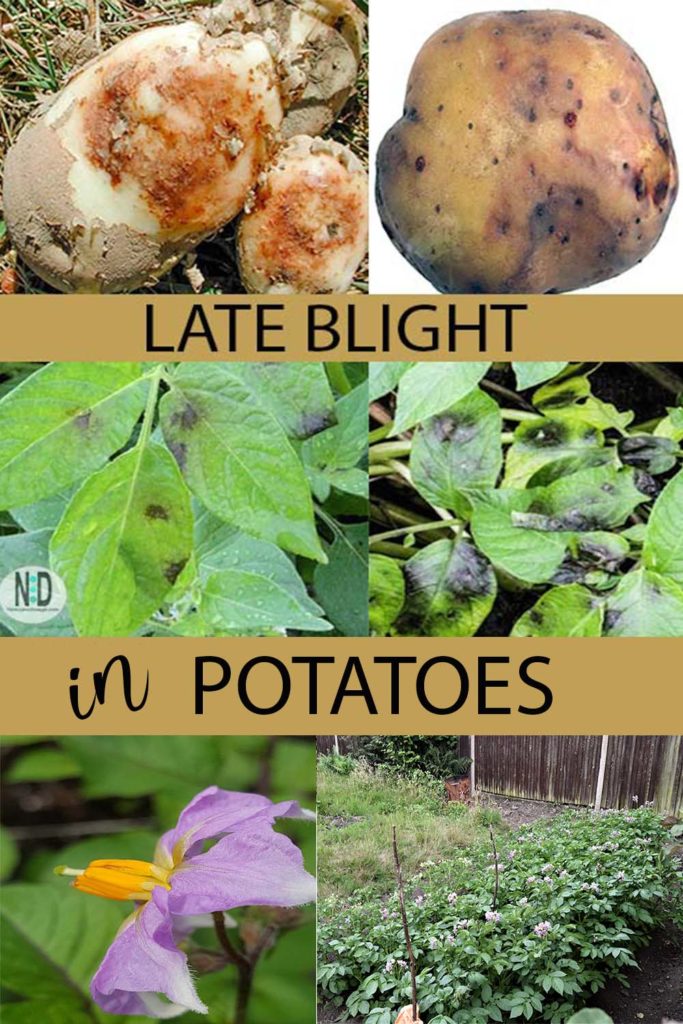
Late Blight Of Potatoes
Dark brown spots on leaves, appearing water-soaked and not having concentric rings. The spots become yellow and the leaves die. Worst in hot, sultry weather, August and September, Lives over winter in seed potatoes.
Blight Management
Mancozeb and chlorothalonil are perhaps the most frequently used protectant fungicides for early blight management. Additional management ideas are below.
Management When Planting
- Select a late-season variety with a lower susceptibility to early blight. (Resistance is associated with plant maturity and early maturing cultivars are more susceptible).
- If planting late season potatoes – Plant late blight-free seed tubers from reputable and trusted source.
- Do not mix seed lots because cutting can transmit blight.
- Rotate planting areas (three to four-year crop rotation).
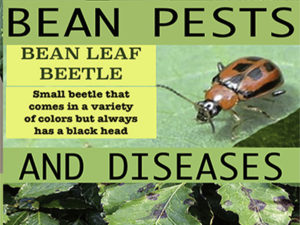
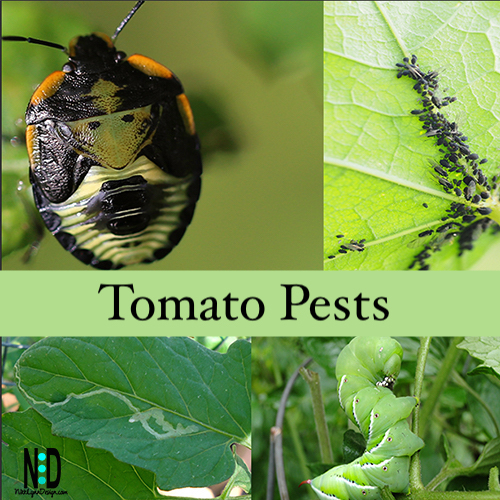
Potato Insect Pests

Our common species are about half an inch long, dull gray or blackish, often marked with yellow stripes, while others are of a brilliant metallic bronze, green, or blue.
The adults often appear in immense swarms and ruin garden crops
The beetle eats the plant leaves.
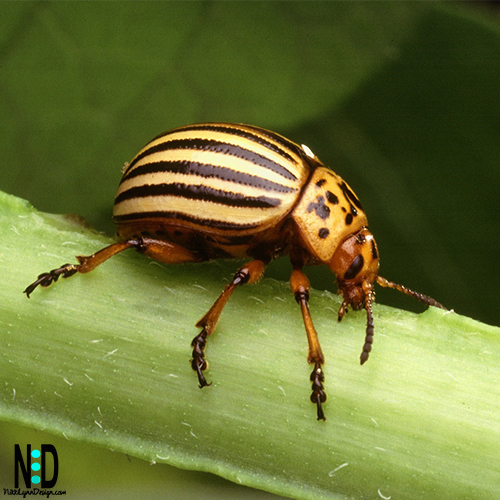
The Colorado Potato Beetle is a major pest of plants in the nightshade family. Including potato crops, eggplants, peppers, and tomatoes. It eats the leaves.
Beetle has a bright yellow and sometimes tinted orange body along with bold, dark brown stripes that almost look black to the eye that run the length of its body.
Hand-picking the beetle off plants is effective.
Hope that this article helped you gain a better understanding of growing garden potatoes. Happy growing!
Bird Posts You Might Enjoy
• American Redstart
• Northern Cardinal
• European Starling
• Red-Breasted Nuthatch
• White-Breasted Nuthatch
• Red-Eyed Vireo
• American Goldfinch
• Baltimore Oriole
• Dark-Eyed Junco
• Blue Jays
• Eastern Phoebe
• Snow Bunting
• House Finch
• Drying Fruit For The Birds
• DIY Tray Birdfeeders
• Ants On Feeder
• How To Clean A Birdbath
• Make Your Own Suet
• Birds That Eat Oranges
• Birds That Eat Nyjer Thistle Seed
• Nesting Hummingbirds
• Facts About Hummingbirds
• Pileated Woodpecker
• Downy Woodpecker
• Northern Flicker
• Red-Bellied Woodpecker